Transfer & Edit Your Android Snapshots in No Time with Windows 11

Transfer & Edit Your Android Snapshots in No Time with Windows 11
Quick Links
- Connecting Your Android Phone to Your Windows PC
- Getting the Photos on Your Desktop Through Notifications
- Troubleshooting Common Issues You May Face
- Instant Photos at Your Fingertips
Key Takeaways
- Connect your Android phone to your Windows PC using the Link to Windows mobile app.
- On Windows, go to Settings > Bluetooth & Devices > Mobile Devices. Click the “Manage Devices” button. Turn on “Get New Photo Notifications”.
- Once you take a photo on your Android, you’ll receive a notification on your PC. Tap the notification to open the photo in the Snipping Tool.
Windows 11 now allows you to instantly transfer photos and screenshots from your Android phone the moment you take them. With a bit of setup, you won’t have to use any cables or third-party apps to transfer photos. You can start editing the transferred photos on your Windows desktop right away.
Connecting Your Android Phone to Your Windows PC
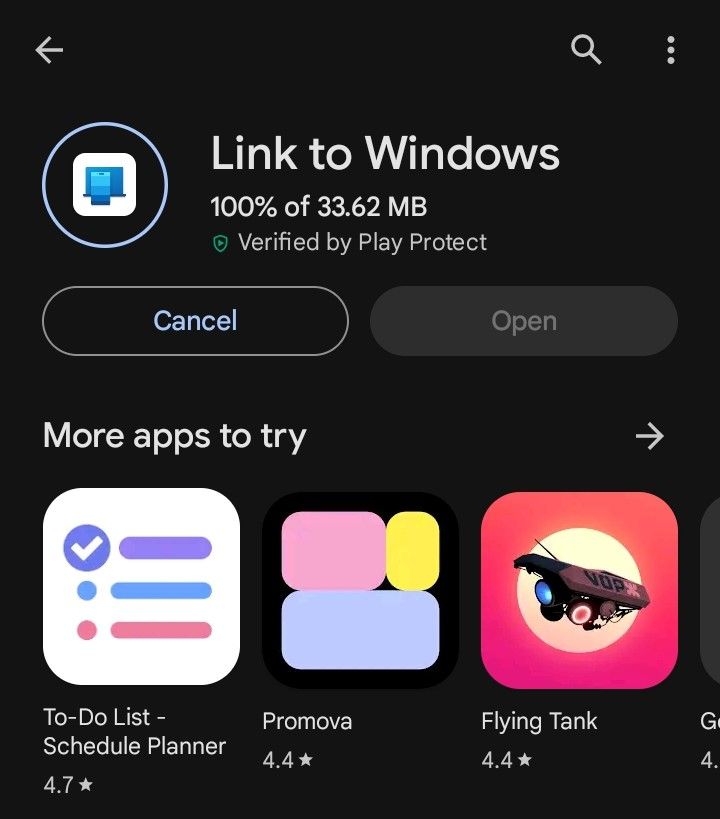
To set up this feature, you’ll need to connect your Android phone to your Windows PC using the Link to Windows app on the Play Store.
Now on your Windows device, open Settings. Go to “Bluetooth & Devices.” Then go to “Mobile Devices.”

Turn on the “Allow this PC to access your mobile devices” option. Then, on the right of “Mobile Devices,” go to “Manage Devices.”

You might be prompted to use your Microsoft account for the setup. If so, choose your currently signed-in account and press the “Continue” button. You could also choose a different Microsoft account.

After that, you should see a new window when you press the “Manage Devices” button again. This time, you need to add a device. For that, press the “Add Device” button.

You’ll be provided with a QR code. Scan the QR code using the Android phone that you want to connect to the PC.

After scanning the QR code, you’ll see a new window revealing a secret code.

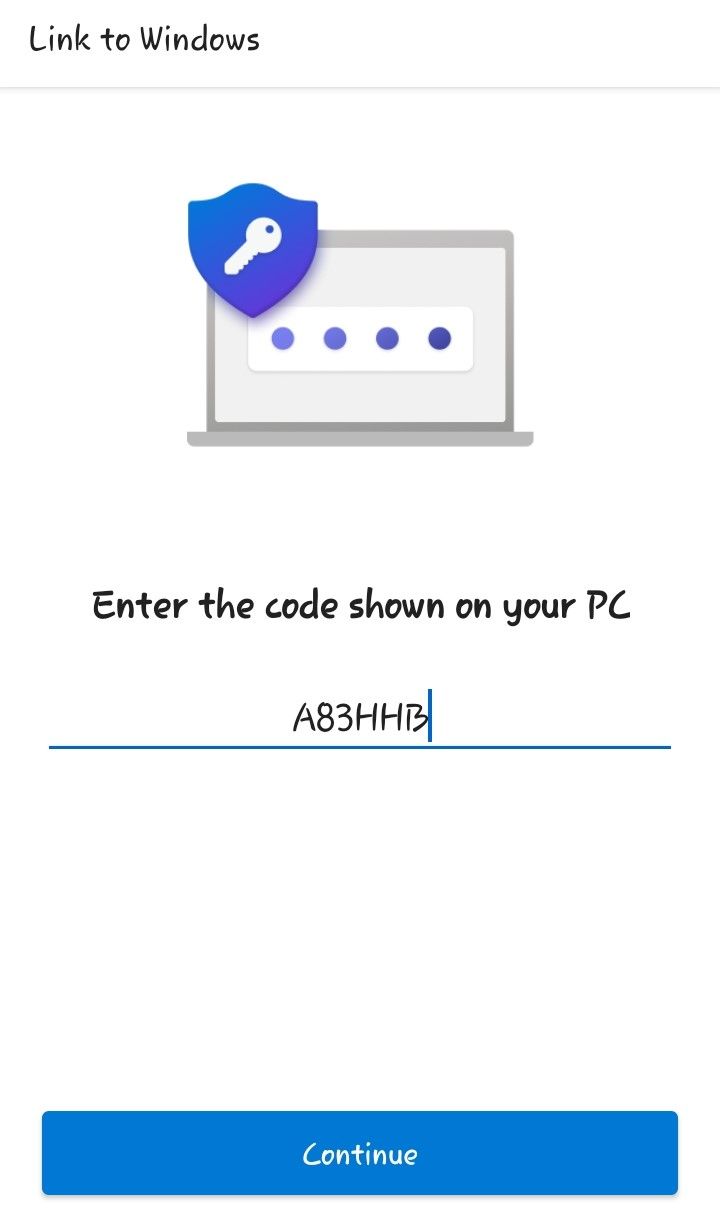
On your phone, you should be prompted to enter this code on the Link to Windows app. Type in the code and then press the “Continue” button.
Now return to your PC. Go to Settings > Bluetooth & Devices > Mobile Devices. Open the “Manage Devices” settings again. You should see your Android device model there. Toggle the button on the right of your device name to enable it if it’s not already enabled. You should also see a new setting called “Get New Photo Notifications.” Toggle that button to turn it on.

You’re mostly done. To confirm the connection has been established between your phone and PC, go to the Settings menu on the Link to Windows app on your phone. There you should see the name of your Windows desktop. If it’s connected, then you should see the text “Connected.” Otherwise, you’ll see the text “Disconnected” written there. You’ll also see the Link to Windows app logo in your notification panel with a connected status.
Getting the Photos on Your Desktop Through Notifications
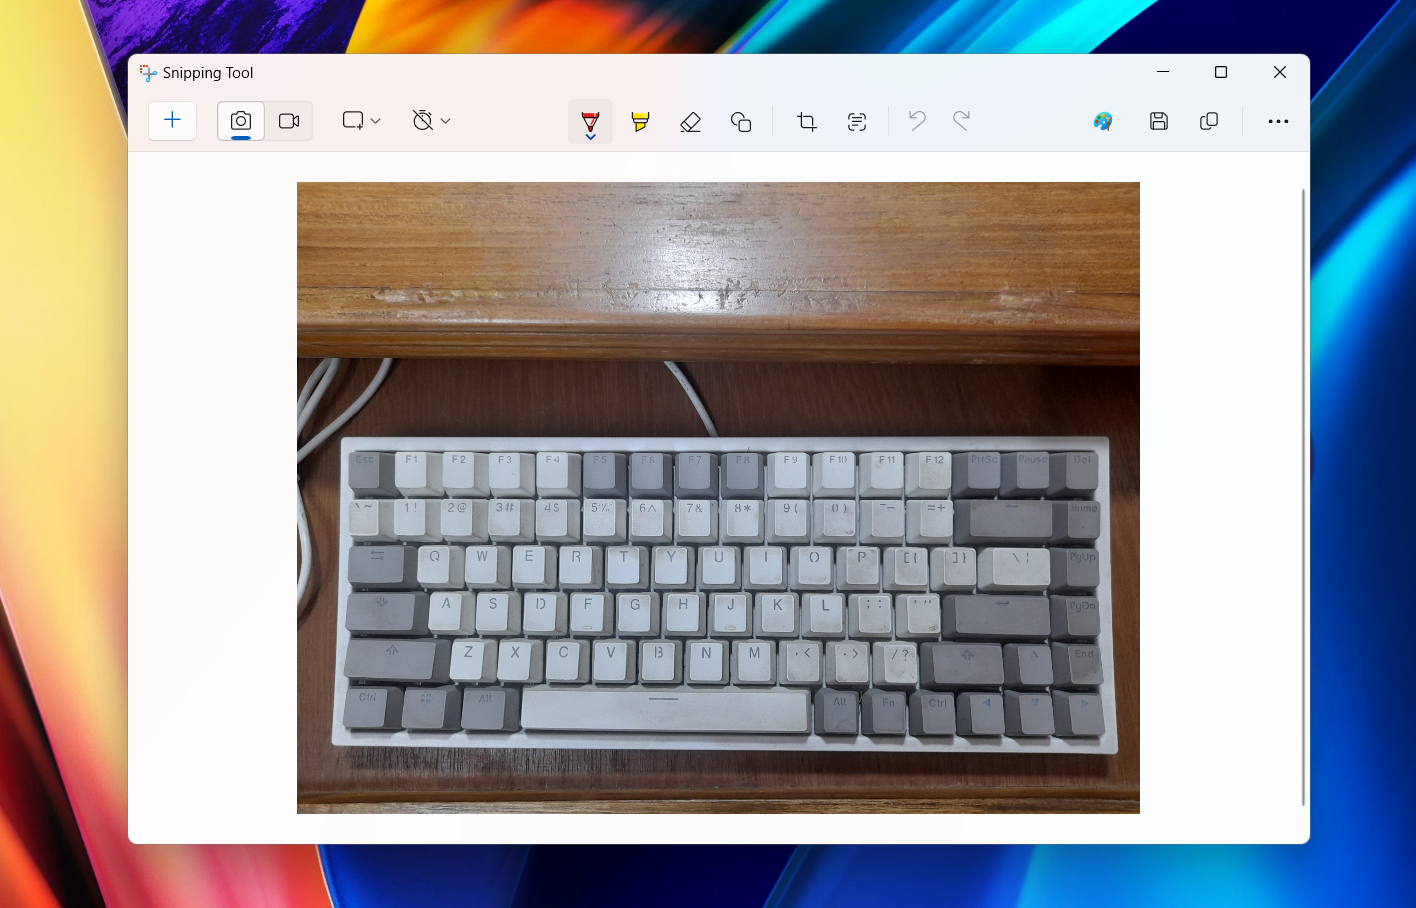
With everything set up, you can try taking a new photo or screenshot on your Android device. Once you do, you’ll see an instant notification on your Windows desktop for that photo or screenshot.
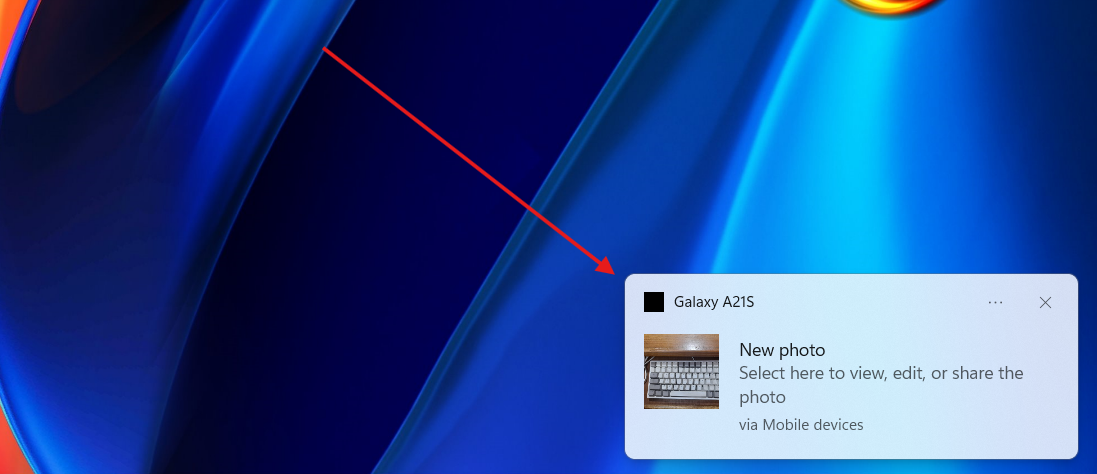
Once you tap the notification, the photo will open in the Snipping Tool . From there, you can edit the photo, open it in Paint, copy it to your clipboard , use the Text Actions feature , or share it with others.
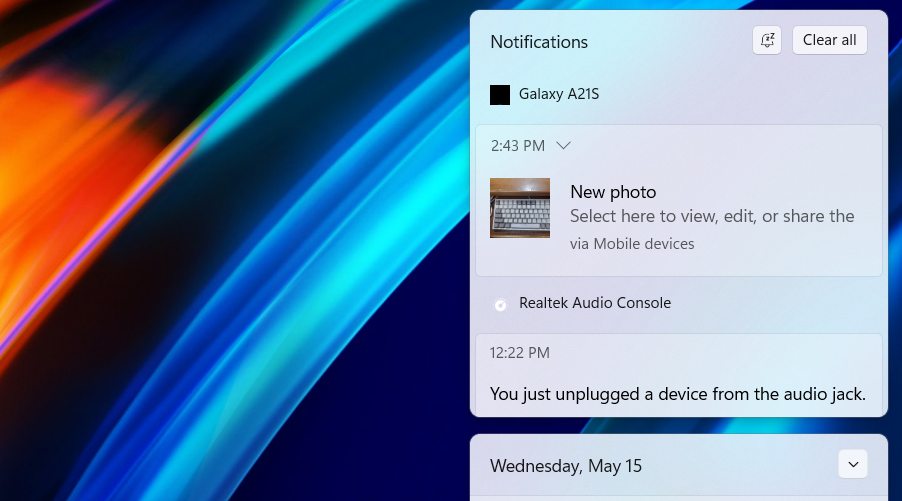
If you accidentally miss the notification, you can still find it in the notification center. You can tap the date and time on the menu bar or press Windows+N to open the notification center.
Another cool thing I found about this feature is that if you’re on mobile data and not connected to the Wi-Fi on your phone, you can still use this feature. To do so, open the Link to Windows app. Go to Settings. Toggle the “Sync Over Mobile Data” button.
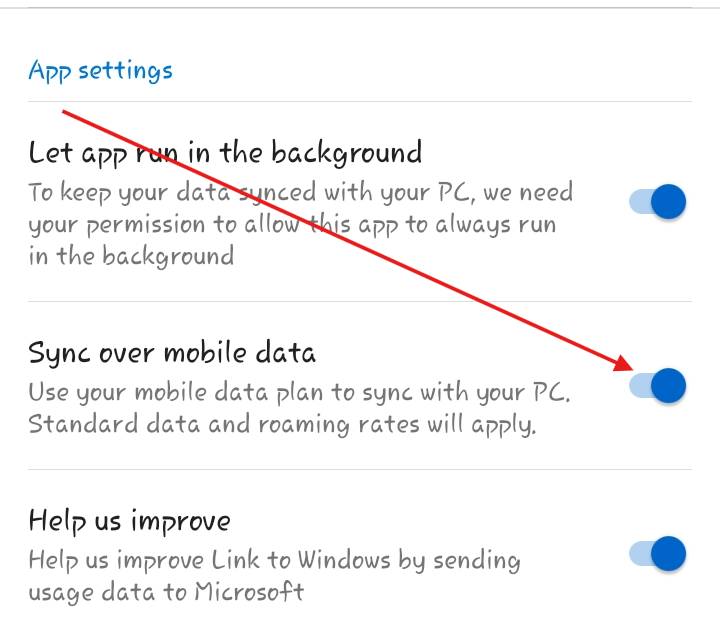
Now turn off the Wi-Fi and turn on your mobile data. Take a photo and see if you receive a notification on Windows.
Troubleshooting Common Issues You May Face
While testing this feature, I found some issues where I wasn’t able to get photo notifications. If you face such problems, you can follow some of these solutions:
- Always make sure your phone is connected to the PC via the Link to Windows app. You may face sudden disconnects. If so, wait for them to be connected again.
- Sometimes, letting the app run in the background helps. You can turn this setting on from the Link to Windows app on your phone.
- Make sure you have a stable internet connection.
- Sometimes, I didn’t receive the notification until I minimized all the windows and tapped once on the home screen on my desktop. Weird, but it worked.
- If you already have a screenshot opened in the Snipping Tool, another photo may not open when you tap on the notification.
- Sometimes, the photo wouldn’t open in the Snipping Tool if I pressed the notification from the notification center.
- Disconnecting and reconnecting the devices also helped.
- If you’re unable to find the “Get New Photo Notifications” feature on your Windows PC, make sure you’ve installed the latest Windows updates and then try again.
Instant Photos at Your Fingertips
There are many ways to transfer photos from your Android phone to your Windows PC . But this neat feature makes it so fast and easy once you’ve done the initial setup. If you need to edit a photo on your desktop, you don’t need to transfer it manually via cables or extra apps. Currently, it only works for Android devices. If you’re an iPhone user, there are other ways to transfer photos from the iPhone to a Windows PC .
Also read:
- [New] BeatBox Recorder A Compreeved Guide for 2024
- [New] Excellence in Audio on Windows Best 8 Podcast Apps Compiled
- [New] From Compression to Clarity The ZIP-SRT Conversion
- [Updated] Face Makeovers Simplified Best Apps for iOS and Android
- [Updated] How to Instantly Recover Lost Reddit Posts
- 2024 Approved Gaming Mastery The Ultimate Speed Controller Guidebook
- 2024 Approved Leveraging Colored Backdrops for Seamless Edits
- 2024 Approved Step-by-Step Breakdown Hassle-Free iOS Device Recordings
- Become a Hero: Top 6 Strategies for Using ChatGPT as Your Ideal Dungeon Master
- Beyond Reality The Top 10 Sci-Fi Movies with Metaverse Travels
- From Conversation to Text Mastering Google's Document Feature for 2024
- Illuminating Insights for iPhone Night Photos for 2024
- In 2024, 7 Ways to Unlock a Locked Vivo S17t Phone
- In 2024, Focal Point Exposé
- In 2024, In-Depth Zoom Guidance for Virtual Team Spaces in MSTEAMS
- In 2024, Pokemon Go No GPS Signal? Heres Every Possible Solution On Nokia G42 5G | Dr.fone
- Overcome iPhone Camera Glitches: The Ultimate Guide to Solving 7 Frequent Problems
- Pinnacle of Photography Top 10 4K Mirrorless Cams
- Step-by-Step Strategies to Salvage Deteriorated JPEG Images with Cutting-Edge Solutions
- Title: Transfer & Edit Your Android Snapshots in No Time with Windows 11
- Author: Frank
- Created at : 2025-02-12 20:14:09
- Updated at : 2025-02-19 16:58:35
- Link: https://some-techniques.techidaily.com/transfer-and-edit-your-android-snapshots-in-no-time-with-windows-11/
- License: This work is licensed under CC BY-NC-SA 4.0.